Introduction
When it comes to DNS servers, speed often takes the spotlight. Many users—including myself until recently—select the fastest resolver available, assuming that low latency equals the best experience. But a single test can shatter that assumption: querying a list of known malicious domains through a top-speed provider might reveal that every single one resolves without a hitch. That means the fastest DNS on your machine may also be the most willing to hand you malware. Speed alone is not enough. You need a DNS that protects as well as it performs. This guide will walk you through the steps to evaluate DNS servers based on both speed and security, so you can make an informed choice.
What You Need
- A computer with internet access (Windows, macOS, or Linux)
- Administrator or root privileges to change DNS settings
- A list of known malicious domains (e.g., from URLhaus or similar threat intel feeds)
- DNS benchmarking software (e.g., dnsperf or namebench)
- A script or tool to query multiple domains (like
digon Linux/macOS, ornslookupon Windows) - Spreadsheet or text file to record results
- About one hour of time
Step-by-Step Guide
Step 1: Identify Your Current DNS Servers
Before you can improve, you need to know what you're currently using. Check your system's network settings to see the DNS servers assigned by your ISP or configured manually. On Windows, run ipconfig /all and look for DNS Servers. On macOS, go to System Preferences > Network > Advanced > DNS. On Linux, check /etc/resolv.conf. Write down the IP addresses. If you're using a public DNS like 1.1.1.1 or 8.8.8.8, note that as well.
Step 2: Benchmark DNS Speed
Speed matters, but it's only one factor. Use a reliable benchmarking tool to measure the latency of several DNS providers. Namebench (now discontinued but still usable) or dnsping/dnsperscope can give you comparative results. Install the tool and let it test a set of common public resolvers, including Cloudflare (1.1.1.1), Google (8.8.8.8), Quad9 (9.9.9.9), OpenDNS (208.67.222.222), and your current ISP's DNS. Record the average response times. The fastest resolver may have a low ping, but as we'll see, that doesn't guarantee safety.
Step 3: Assemble a List of Malicious Domains
To test security, you need known-bad domains. Visit URLhaus and download a recent feed of malware-hosting domains. Alternatively, use other threat intel sources like SANS ISC Suspicious Domains or PhishTank. Aim for at least 30 unique domains. Save them in a plain text file, one per line. Important: Do not click on these domains—just use them for DNS queries via command line.
Step 4: Test Each DNS Against the Malicious List
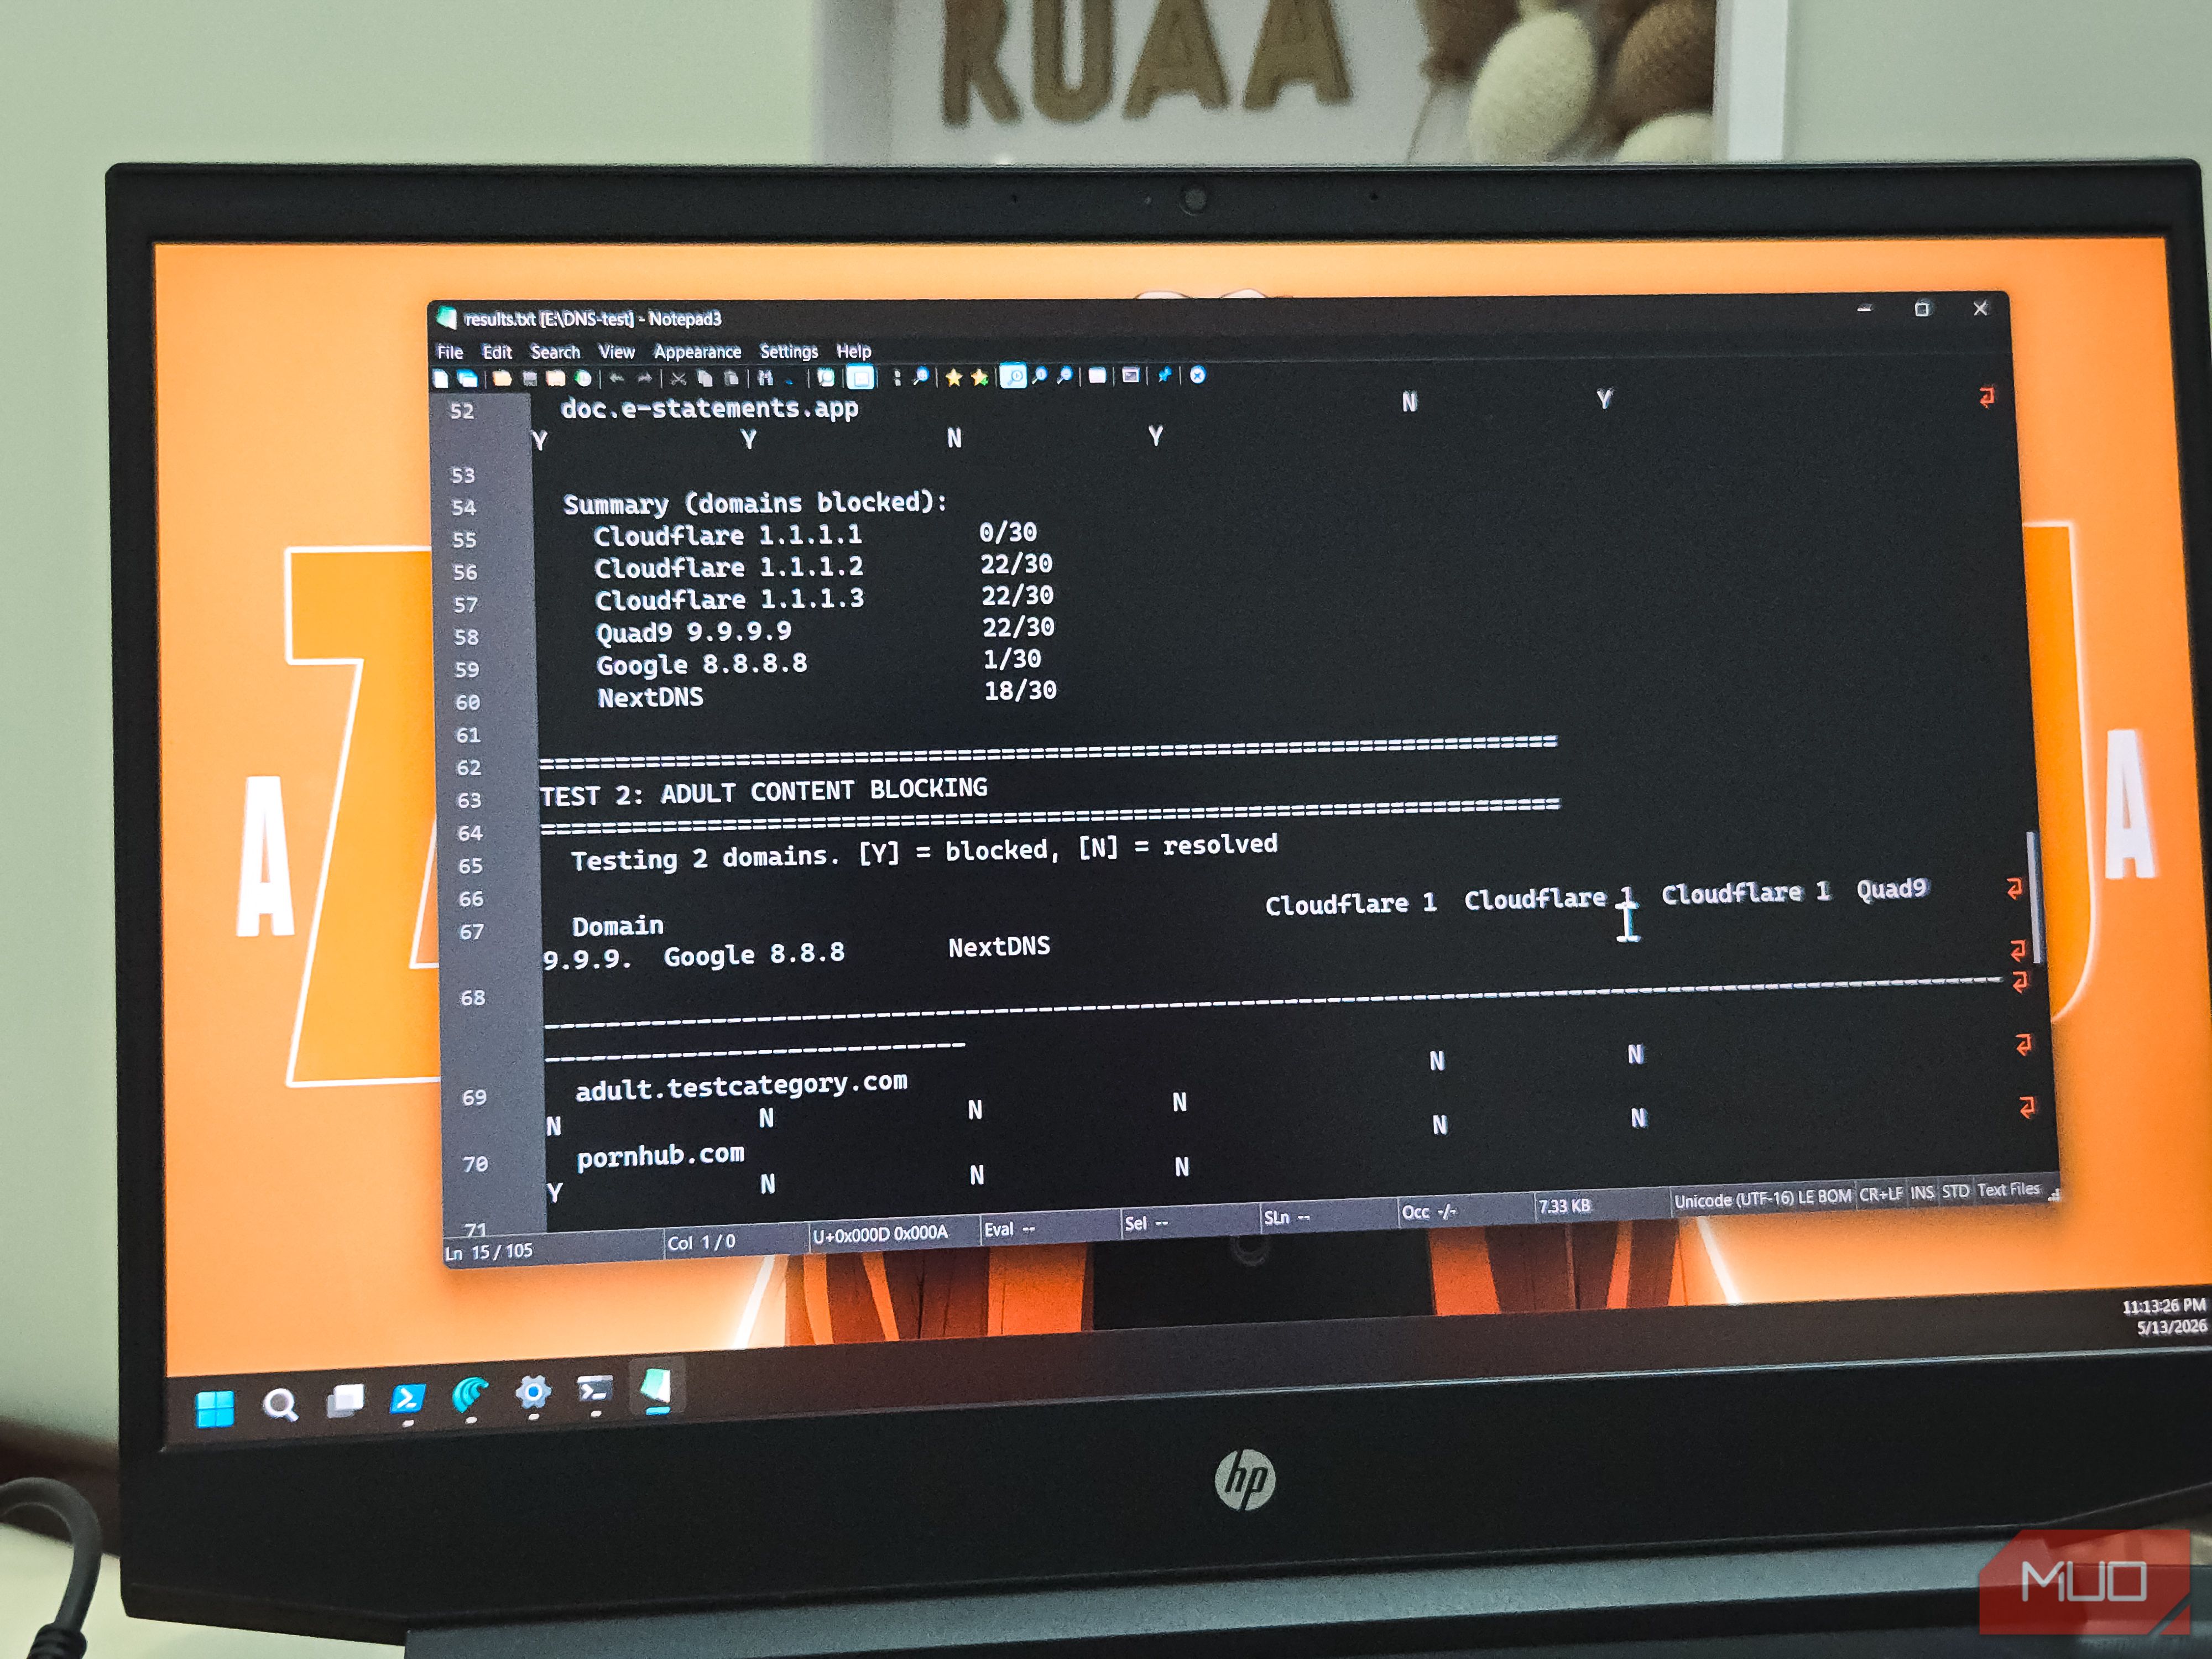
Now the critical part: query each domain in your list through multiple DNS servers. Use a script or manual commands. For example, on Linux/macOS, you can run for domain in $(cat domains.txt); do dig @1.1.1.1 $domain +short; done. This will return IP addresses. Note which domains resolve (i.e., return an IP) and which return NXDOMAIN (non-existent domain). A secure DNS provider should block known malicious domains by returning NXDOMAIN or a sinkhole IP. Repeat the same test for each DNS server you benchmarked earlier. Record results in a spreadsheet with columns: Domain, Cloudflare (1.1.1.1), Google (8.8.8.8), Quad9 (9.9.9.9), OpenDNS, etc.
Step 5: Analyze the Results
Compare the speed and security data. You'll likely find that some fast resolvers—like 1.1.1.1 and 8.8.8.8—resolve every malicious domain without blocking. This is because they prioritize speed over filtering. In contrast, Quad9 (9.9.9.9) blocks many malware domains using threat intel, while OpenDNS offers customizable filtering. Look for a provider that has low latency (within 10-20% of the fastest) and blocks at least 80-90% of the malicious domains in your test. You might discover that Quad9, while slightly slower than Cloudflare, offers far superior protection.

Step 6: Switch to a Secure DNS Server
Based on your analysis, choose a DNS provider that balances performance and safety. Options include:
- Quad9 (9.9.9.9): Blocks malware, uses threat intel from multiple sources.
- Cloudflare for Families (1.1.1.2 for malware blocking, 1.1.1.3 for malware + adult content): Faster than Quad9 but with curated blocklists.
- OpenDNS (208.67.222.222, 208.67.220.220): Offers customizable filtering categories.
- NextDNS (requires signup): Highly configurable with low latency.
/etc/resolv.conf (temporary) or use NetworkManager GUI.Step 7: Re-test to Confirm the New Setup
After switching, run the same speed and security tests again. You should see malware domains now returning NXDOMAIN or a block page, while regular browsing remains snappy. Run the security test at least once a month because threat feeds update frequently. Use the same benchmarking tool from Step 2 to verify that performance is still acceptable.
Tips for Ongoing DNS Management
- Test periodically: DNS providers change their policies and infrastructures. Set a recurring calendar reminder to re-run both speed and security tests every 3-6 months.
- Consider DNS over HTTPS (DoH) or DNS over TLS (DoT): These protocols encrypt your queries, preventing eavesdropping and tampering. Many modern providers support them (e.g., Cloudflare, Quad9). Enable them in your browser or system if possible.
- Layer protections: A secure DNS is not a silver bullet. Combine it with a reputable antivirus, firewall, and safe browsing habits.
- Check privacy policies: Some DNS providers log your queries. Review their privacy statements—Quad9 has a strong no-logging policy, while Google DNS logs but anonymizes after 48 hours.
- Use multiple resolvers: In your network configuration, you can list a primary and secondary DNS. Choose two providers that both perform well in speed and security, like Quad9 as primary and Cloudflare for Families as secondary.
By following this guide, you'll stop relying on speed as the sole metric and start using a DNS that actively protects you from threats. Remember, a few extra milliseconds are a small price for blocking malware before it ever reaches your machine.